In times of emergency, every second counts. Navigating CPR in different scenarios is vital and can make a life-saving difference. CPR not only sustains oxygen flow to vital organs but also increases the chances of survival until professional medical intervention is possible.
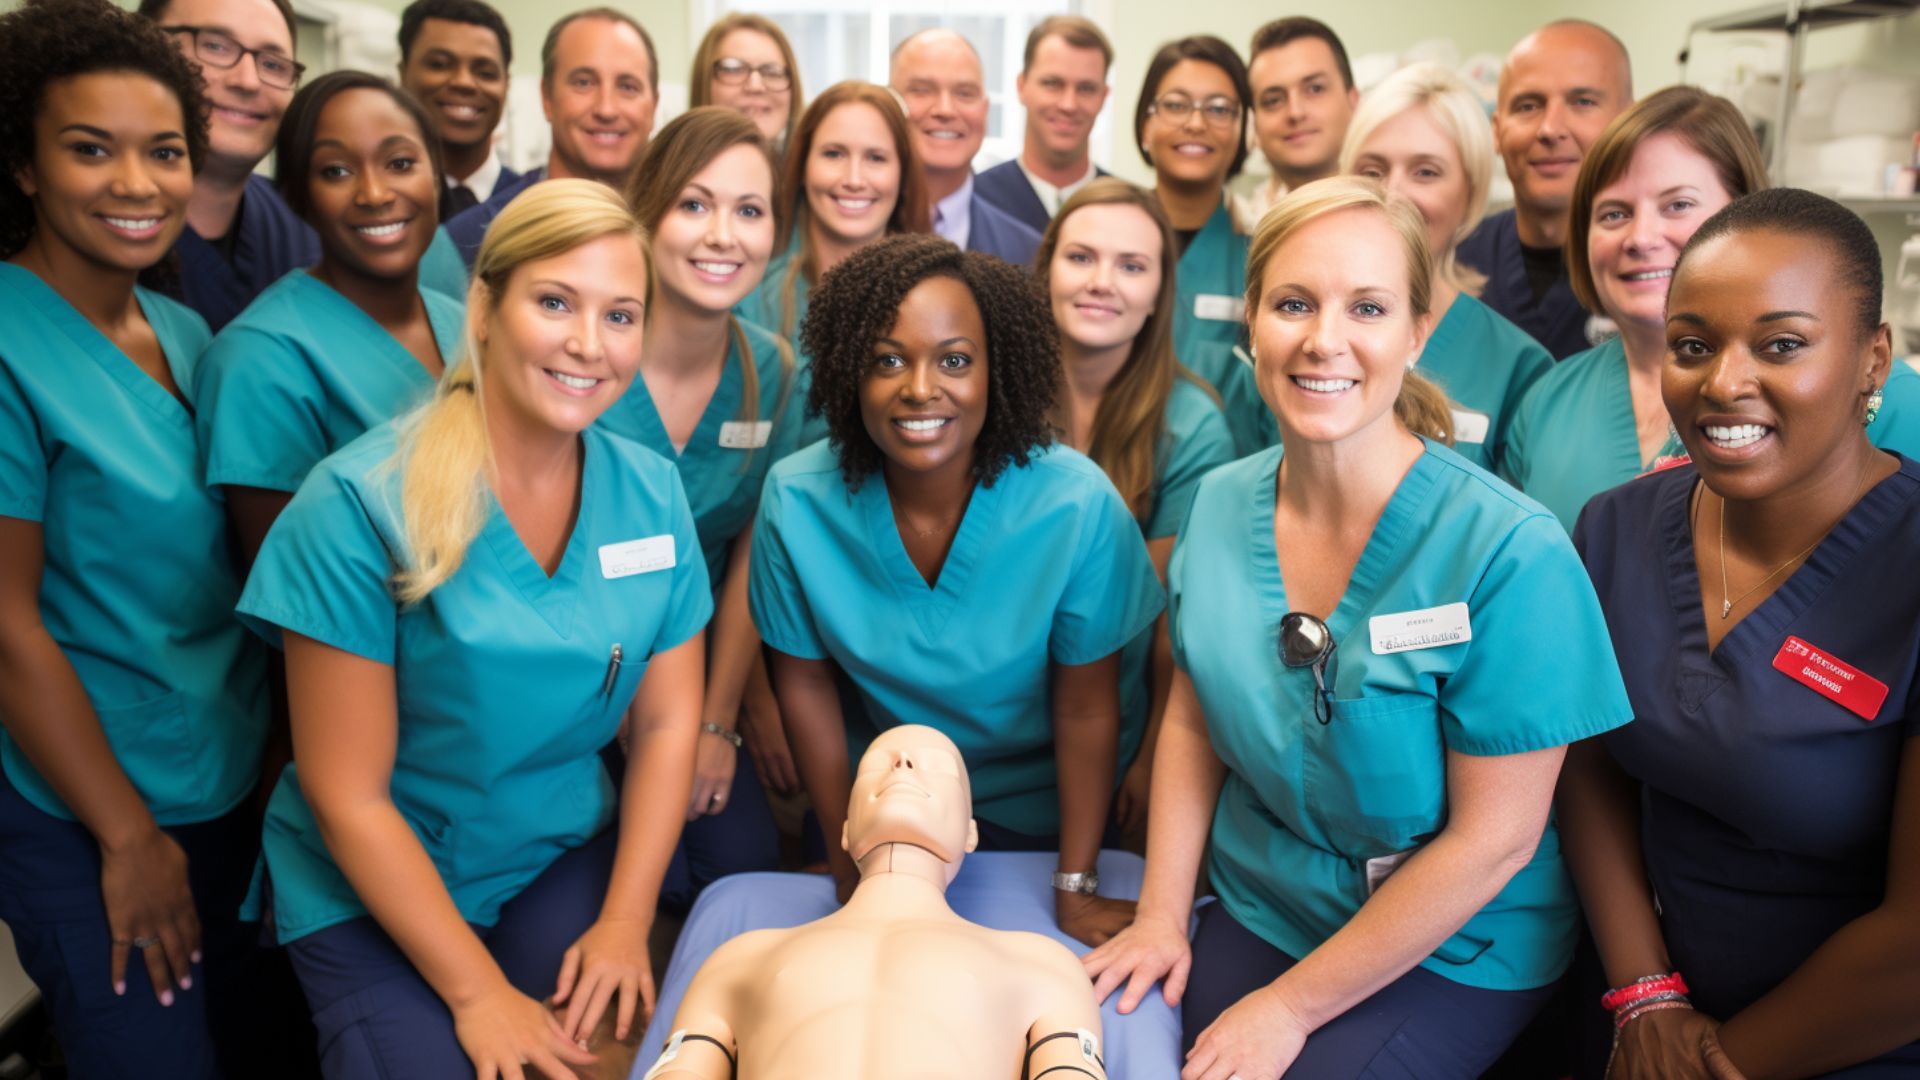
CPR-trained and certified individuals possess the knowledge to react swiftly and effectively when the victim is unresponsive and shows no signs of breathing or heart activity. Hence, obtaining a CPR certification in Newark can be helpful.
This will teach you when you need to react and how to react to a given situation. To learn more, keep reading about CPR in different situations and how to find the pulse points in each one.
CPR in Different Scenarios
Regardless of circumstances, CPR often buys time until professionals arrive. To highlight the significance, we will delve into essential first aid and CPR protocols for sudden cardiac arrest (SCA), choking incidents, and drowning emergencies.
Sudden Cardiac Arrest
It’s estimated that 350,000 Americans are victims of sudden cardiac arrests each year. However, immediate initiation of CPR increases survival rates to up to 45%. Hence, commencing CPR is a top priority following assessment.
Out of Hospital Cardiac Arrests (OHCA), 73.4% of the time occur in homes/residences, 16.3% in public, and 10.3% in nursing homes. CPR from a bystander given right away can even triple the chances of survival.
Regrettably, merely 40% of people who experience OHCA receive a prompt CPR intervention. The 2023 stats indicate that only 40.2% of the OHCA victims have received bystander CPR.
Finding a Pulse
Before you start giving CPR, you need to check for a pulse. There are several types of pulses throughout the body, starting with the radial pulse on your hand and down to the pedal pulse on the top of your foot.
In most cardiac arrest cases, the carotid pulse is used to determine whether a person is alive. This is the pulse on your neck, which can be found if you put two fingers on the curve where your jaw and neck connect. Another common option is the radial pulse located on your wrist.
How to Perform CPR for Cardiac Arrests
Signs and symptoms that you should look out for are collapsing and unresponsiveness accompanied by agonal breathing or no breathing at all. If you’ve identified the mentioned symptoms, dial 911 or the local emergency number and proceed with CPR immediately.
For adult victims, do 30 compressions by pushing 2 inches deep. Don’t lean on the chest so you ensure it can recoil fully, lifting your hands off after each compression. Count 100 to 120 beats per minute for every compression. Accompany it with 2 rescue breaths afterward, each one 1 second long. If the victim remains unresponsive, repeat the cycle as long as needed until you get signs of life.
In the case of a child, perform the same actions but push down at least ⅓ of the chest’s depth while doing the compressions. The depth should be the same for a baby, but instead of two hands, only two fingers should be used for the compressions.
In all cases, remember to continue giving CPR until the EMS personnel or another trained First Aider takes over.
Choking
Choking may happen when the airway gets fully or partially blocked. The blockage can be caused by a foreign object like food, a swollen mouth or throat, or fluids like water, vomit, and blood. Needless to say, you don’t need to check for a pulse in a choking victim.
Adapting CPR based on the situation, person’s condition and age is crucial. Before taking action, the first step to aid a choking victim is to assess the circumstances and identify whether the choking is partial or complete.
First Aid & CPR in Cases of Choking
The usual signs of partial choking include coughing, panic, and throat clutching. What follows is the inability to speak, cough, or breathe properly, squeaking noises, and flushed skin that becomes paler than normal.
In situations of partial choking, encourage the person to cough forcefully without your interference. Assist them in sitting upright, a position that facilitates coughing and breathing. Keep monitoring the person until you’re completely sure that the obstruction is removed.
How to Perform CPR on a Choking Victim
When the previously mentioned actions are ineffective or when the person experiences complete choking, dial 911 or your local emergency number before attempting to dislodge the object.
Once you do that, you can continue with the following techniques: back blows, abdominal thrusts, and chest thrusts. Alternate between them until the object is expelled and the person resumes breathing or becomes unresponsive.
Here’s how to perform the back blows:
- Stand or kneel behind the person and wrap one of your arms across their chest.
- Bend them so that the airway is parallel to the ground.
- Start with the back blows between their shoulder blades by using the heel of your hand.
When it comes to abdominal thrusts, this is what you need to do:
- Stand or kneel behind the victim and ensure a stable stance.
- Wrap your arms around their waist, close your hand in a fist, and thrust right above the navel.
Finally, if you choose to do the chest thrusts, here’s how to do them:
- Position yourself behind the choking person.
- Wrap your arms around their chest, below the armpits.
- Make a fist and place it in the middle of their chest.
- Start the chest thrusts and occasionally perform a pulling motion in your direction.
Regardless of what method you use, 5 thrusts should be enough. If the object is successfully removed, the affected person should seek medical attention for assessment of any potential damage. If not, lower them safely to the ground and begin CPR immediately.
Drowning
Unfortunately, drowning is one of the main causes of death among children in the United States. According to the CDC, more kids between the ages of 1 to 4 die from drowning than any other cause of death.
The data shows over 4,000 fatal unintentional drownings in the United States every year. The rates, however, vary between states. New Jersey, including Newark, has one of the lower rates nationwide, with 0.77 drowning deaths per 100,000 people.
How to Help a Drowning Victim
If you’d like to help, assess the situation by looking for some warning signs, such as a vertical position in the water without leg motion, an expression of fear and panic, and uncontrolled movements.
In such circumstances, either call a lifeguard or another trained person for help or try to rescue the drowning person yourself. After the person is safely removed from the water and is responsive, make sure that he or she receives medical attention and gets checked for potential repercussions such as hypothermia.
If the person is unresponsive, check their breathing by tilting their head back. If they are breathing, a chest motion will be noticeable, and you may hear faint sounds. If breathing is identified, put them in a recovery position with their head back and call 911 if possible.
CPR in Cases of Drowning
In cases when the person is both unresponsive and not breathing, first, check their carotid pulse while counting 10 seconds. If there is no pulse when the last time runs out, start CPR ASAP.
For adults, CPR for drowning is identical to the process described for both cardiac arrest and choking, comprising cycles of 30 chest compressions and 2 rescue breaths. Repeat until the person shows signs of life or until EMS personnel or someone trained takes over.
When it comes to drowning children, CPR starts with rescue breathing. Place them on their back and tilt their head so you can lift their chin easily. If it’s a baby, don’t tilt the head back too far. Also, with babies, you need to remember to place your mouth over both the nose and the mouth.
If it’s an older child in question, close their nose and put your mouth over theirs. Blow into the mouth for 1 second and notice the chest rise, then repeat the same action. Begin with chest compressions afterward and perform the same steps described in the previous sections above.
Key Takeaways
The importance of navigating CPR in different scenarios cannot be overstated. But as we mentioned, it’s important to first check for the pulse points before giving CPR. In the majority of cases, the carotid and radial pulse are checked.
However, in situations when this is not possible, checking the brachial pulse (on the inner part where your arm bends) or the femoral pulse (where your leg and groin bend), if extremely necessary, is advised.
Remember, CPR-trained and certified individuals hold the power to significantly improve survival rates in critical situations. So why not go online and get a certificate in Newark today?